Choosing the right lifestyle photographer for your shoot can be a challenge. There are some things you can do to make sure that your shoot goes smoothly. We'll show you how to prepare your scene, create a moodboard, and choose a photographer. Once you've finished that, you can begin working with a lifestyle shooter. Next, these are the tips you need to take stunning photos. Let's get started!
A mood board
A mood board can be a powerful way to visualize your creative vision. You can also use them for personal projects. Although color combinations can be hard to match, it is possible to choose bright colors for your boards if there is a clear goal. You might use natural textures and primary colors if you are designing a website for children's clothing.
Choosing a photographer
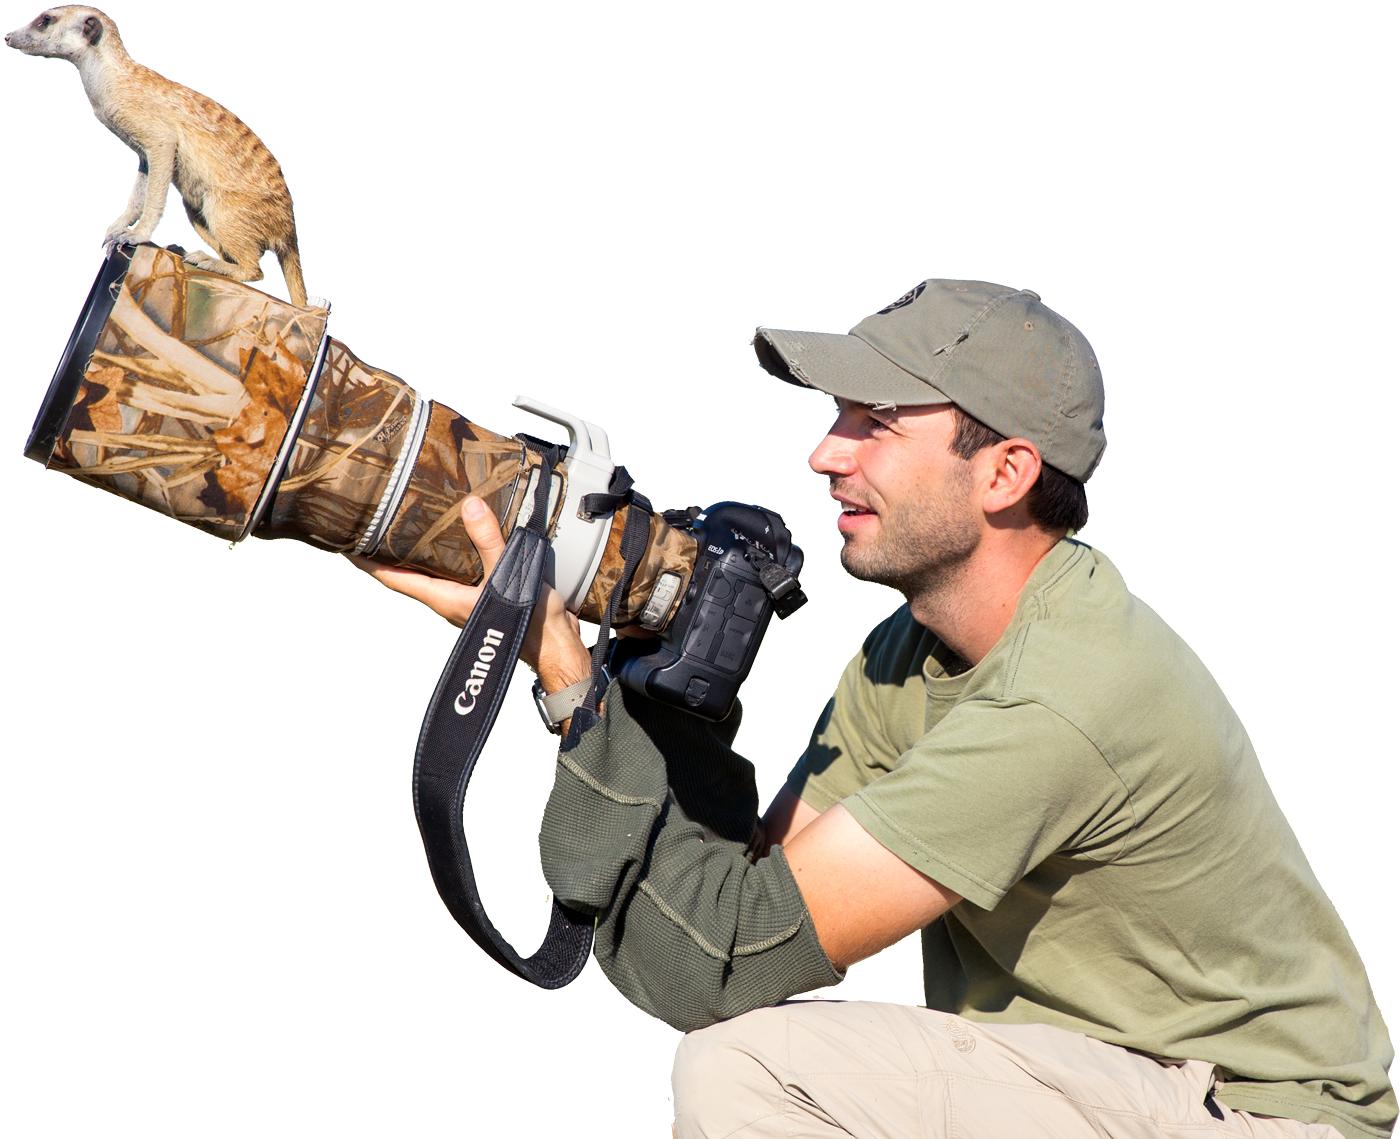
When looking for a lifestyle photographer, it is important to look at the surrounding. Living in the environment is key to successful lifestyle photography. If you wish to portray your client's disposition, you can ask your professional photographer to photograph you in the home or at a park. Do not be discouraged if rain is predicted. Otherwise, your photographer is probably not a good choice. A city park is an ideal place to take family portraits outdoors.
Lighting
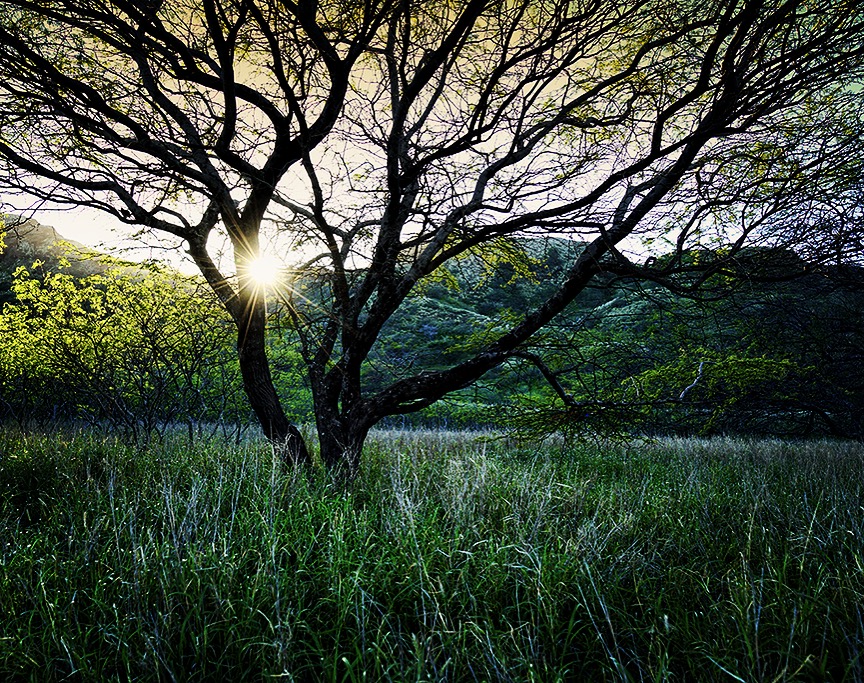
Lighting for lifestyle photography is just as important as for any other type of photo shoot. Lighting is essential for natural shots. Use one large light source for lighting a room to create the right atmosphere. It is best for the subject to be in the back, with some light bounced off of objects or walls. Lifestyle photography lighting should be in line with your brand colors and style.
Preparing the scene
You must be prepared to capture spontaneous moments in lifestyle photography. Know your subject. You should get to know your subjects and learn how they like photos. You might ask them about their hobbies or give them toys to play with. Visual aids like storyboards are helpful. You should not make too many preparations.
Wide shots
Planning is key to achieving a broad shot for lifestyle photography. Begin by assessing your subject. Take a picture of the subject's face if you are photographing people within their environment. While you may be surrounded by many other subjects, it is possible to focus only on one. You can then narrow your focus on the counter item you find most interesting. Before you take the photo, make sure to ask the shopkeeper permission.

Directing the photoshoot
Directing a lifestyle photography photoshoot requires the photographer to ask questions and direct the subjects. General directions that are relevant to the subject's activity are best. If the shoot takes place at a picnic you might ask your subjects where there is good lighting. Then, prompt them to move onto the next activity. This will enable the photographer to take candid and photojournalistic shots. In the same way, ask subjects what their hobbies are when they're away from camera.
FAQ
Why use Light Room to enhance your pictures?
The best way to ensure you have the perfect photos for your project is to start early. It's always better to take as many shots as possible and then pick the ones that will give you the most bang for your buck.
Lightroom allows this because it lets you see the effects of different settings on each photo. You can also adjust these settings on-the-fly without going back into Photoshop. This lets you quickly experiment with what looks great and what doesn't.
Should I take up photography as a hobby or a profession?
Photography is an excellent way to capture memories and share them with friends and family. It allows you to discover more about the world.
You can find a lot of online resources that will teach you how to take better images.
You might also consider enrolling in classes at nearby community colleges or art schools. This gives you the opportunity to meet other photographers, who can offer valuable feedback.
What camera is best for beginners and what are the pros and cons?
The best camera for beginners depends on your budget, needs, and skill level.
For example, if you're looking to save money, you might choose a point-and-shoot digital camera. These cameras aren't as versatile as they look, but they provide good quality.
The Digital Single Lens Reflex (Digital DSLR) camera allows you to interchange lenses, allowing you to take different kinds of photos. While they are more expensive than point and shoots, they offer much more flexibility.
For beginners to photography, the beginner's set is a great place for you to start. You'll find everything you need in one package, including a camera body, lens, memory card, tripod, and flash.
Make sure to purchase extra batteries.
What is the rule for thirds in photography?
The rule to thirds is a great way to create interesting compositions. It divides the image horizontally or vertically into nine equal pieces. This creates three main areas in which you want your subject. These are the top (3rd from the left), middle (3rd from center) and bottom (3rd from lower right). These areas can serve as guides to help you position your subject within your frame.
The rule of thirds also helps you avoid placing important elements too close together or too far apart. If you place them near each other, they may not have enough space between them to make a strong visual impact. You might find that they lose focus if you place them too close together.
Photography is a talent?
Photography is not a skill, but an art form. This requires years of practice, training, and experiences. To master any aspect of photography, it takes years of practice and study.
Photographing is a business that requires a plan.
To do this, you need to understand what kind of clients you want to attract and find ways to reach them.
It is important to understand who your customers are and what their needs are. To convince them to purchase your services, you need to be able to communicate clearly.
This means that you will need to be well-organized and prepared when you meet potential clients.
A portfolio of your work is essential in order to be able to approach potential clients. You can do this digitally or on paper.
Once you have compiled a portfolio of work, you should start looking for opportunities to display it. You can either approach businesses directly or advertise online.
Which Lenses Do I Need?
The most common question beginners ask is, "what lens should I buy?" It's a tough decision since there are so many options available.
The good news is you don't always need to buy a different lens with every purchase of a camera. You can instead add lenses later.
Here are three types of lenses to start with.
-
Wide Angle Lens (14mm-24mm): These lenses have a wide view angle that will allow you to capture more of your subject. Zooming in can be done without affecting image quality.
-
Standard/Normal Zoom Lens (28mm-70mm): These lenses let you change the focal length while still maintaining excellent image quality.
-
Telephoto Zoom Lens (70mm to 200mm): These lenses make it easy to capture distant subjects. These lenses let you focus on the subject even if they are small.
These lenses can also be combined to produce different effects. One example is to use a regular lens to photograph close-up details and then switch to a long-range lens to capture faraway objects.
What equipment is required to start digital photography?
The first thing you should consider when starting out in digital photography is what type of camera you want to use. There are many options available, including DSLRs (digital single-lens reflex cameras), compact point-and-shoot cameras, camcorders and smartphones. Each has its own benefits and features. DSLR cameras, for example, offer superior quality images but are heavier and larger than other types. Point-and-shoot cameras are smaller and lighter and often include automatic settings for certain situations. Camcorders have excellent video recording capabilities. They may also offer still-photo shooting modes. Smartphones are small, light, and easy to carry around and offer great image quality and many advanced features such as GPS mapping, music playback, and Internet browsing.
After you have decided which type of camera you want to purchase, you need to decide if you prefer to buy a new or used model. If the camera was purchased in the past few years, it is possible to find used cameras at reasonable prices. Newer models usually cost more as manufacturers invest large amounts of money to develop new technology.
Next, you'll need to buy lenses. Your photographs' quality will depend on the lenses you choose. They let you adjust the focal length to zoom in and out of the scene, without losing focus. Some lenses include built-in flash units. Others require external flash. Many brands offer many lenses with unique characteristics.
You will also need memory cards. Memory cards store pictures taken by your camera. You can store hundreds, thousands, or even more pictures depending on the size of the card. Multiple memory cards are required if you intend to take many pictures.
Statistics
- There are people out there who will pick at flaws they can only see in 100% crops of your photos. (wikihow.com)
- Get 40% off Adobe Creative Cloud(opens in new tab) (creativebloq.com)
- In this case, 100% of readers who voted found the article helpful, earning it our reader-approved status. (wikihow.com)
- The second easiest way to get blurry photos 100% of the time is to use a cheap filter on the front of your lens. (photographylife.com)
External Links
How To
How to Take Pictures of Yourself
Portraits are important as they reflect who you are. They also tell your story. It's possible to have a favourite picture of yourself, but you are now looking for something different. It is easy to forget how much fun it can be to take pictures. So here are some tips to get started.
-
You need to have enough lighting. Photographing portraits in the early morning or later in the afternoon is the best time. Flashes should not be used in direct sunlight. This will wipe out any details. Avoid shooting at noon. There will be too many shadows.
-
Use a tripod. The camera will not move if it is held still. That means you'll miss the chance to freeze action. You can also set up your flash first, even if you are using it. Next, turn off your flash and then go back to the original shot.
-
Take close-ups. Closeups are great for showing detail. They can also look fake if they aren't done well. Pay attention to the eyes, noses, and mouths of people. Are there any unusual features? Is this someone who wears glasses? Are there freckles under her nose or on her eyes? These things add depth to a person's appearance.
-
Don't force smiles. Smiles can be difficult. Smiles are tricky. Some people smile naturally when they are happy. Others don't. Forcing them to smile is a bad idea. You should think about what makes your laugh. Maybe it's something silly such as watching your cat jump through a hoop. Or maybe you love watching paint dry. It doesn't matter what it is, just keep at it until it makes you laugh.
-
Find your creative side. People tend to think that they are boring. However, being boring is not a bad thing. Be creative and find ways to escape the norm. You could ask your friend to put his hands behind his back and pose with them. You might also suggest that he wears a funny hat.
-
Keep practicing. It will take you a lot of practice to improve at taking photos. As you improve, you'll notice more interesting things happening around you.
-
Have fun. You should have fun taking photos. If you enjoy the experience, you will be more likely do it again. Additionally, you will probably end up with some very cool photos.
-
Please share your work. Share your photos with family and friends once you have learned how to take great pictures. Let them know why you took the photo. Show them where you went. Tell them what you did.
-
Be patient. Sometimes, you won't get it right. It happens for everyone. Don't worry. Move on to the next image.