The rule of thirds is one of the most common composition rules. It's also one of the most simple, powerful, and popular. This simple rule divides a photo into three equal sections, with the subject located at the intersection of each of those parts. You can improve the composition quality of your image by placing your subject in central place on the grid. Another simple composition technique is to move the horizon, which can improve the quality of any landscape image in a matter of seconds.
Rule of the thirds
Landscape photography can be enhanced by the rule of Thirds. By placing points of interest on the horizontal and vertical grid lines, you can place your main subject in the right-hand section, a tree in the upper left-hand corner, or a bird in the top-left corner. The rule of thirds can be used to arrange your other subjects (such as trees or plants). These are some ways to make landscape photography interesting using the rule of thirds.
Using diagonal lines
It is possible to create a sense movement and depth through landscape photography by using diagonal lines. These lines can also be used as leading lines in your photos, helping to guide the eye through your composition. Your photo's subject matter will determine the placement of diagonal lines. The more diagonal lines you include in your composition, the more tension your viewers will feel. This photo is an example of landscape photography using diagonal lines.
Painterly texture
You can create a memorable and unique look for your photographs by adding painterly texture. You can create this effect using a variety Photoshop actions. To soften the image, one example is using this action. Aerial photography can also be a great option for creating abstract landscape images. It's great for capturing beauty in nature without losing any detail.
Reflections
Though it might seem odd to include reflections into your landscape photography composition, this is actually a good idea. This is a great way to add drama and visual interest without affecting the overall composition. But, it can also violate certain landscape photography rules. Try reflections before you try them on your landscape photography shots. The angle the sun is shining on a subject should be considered when selecting a subject. Trees, moss, weeds, or even a stump might make great subjects. A blue sky will also add visual appeal to this rotting piece of wood.
Avoiding unplanned objects
When taking photos, the first thing you should do is check your viewfinder for unwanted objects before you press the shutter. While you can remove unwanted objects in postproduction, they can ruin beautiful landscape photos. Unplanned objects could be anything, including garbage bins and shopping trolleys along the river. Microwaves are another common problem in an otherwise beautiful landscape shot.
FAQ
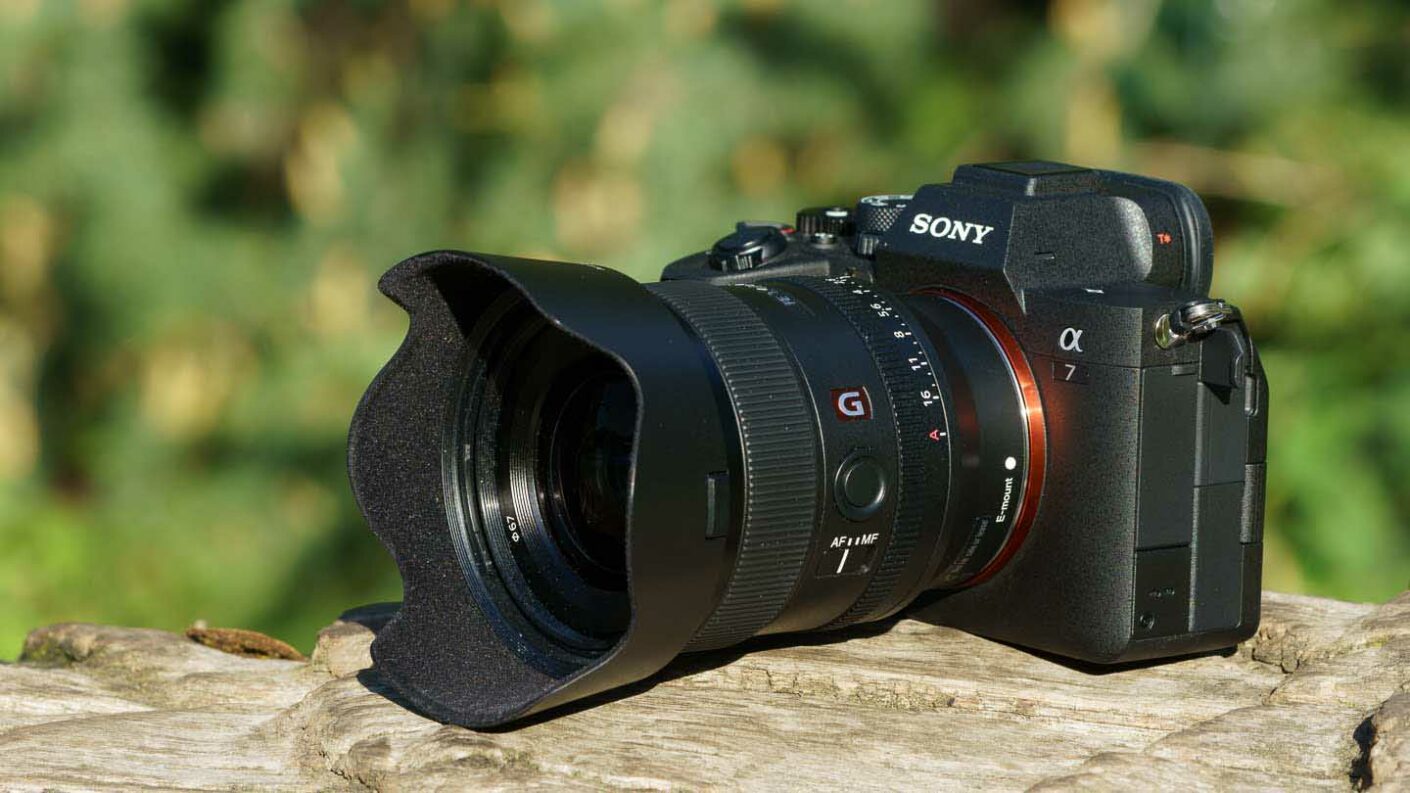
What Camera Should You Get?
All depends on the type of photographer that you want to be. If you are just starting out, a basic point-and shoot camera is all you will need.
However, once the basics are mastered, it's likely that you will want more advanced features. It all comes down to personal preference.
Before you buy a camera, here are some points to remember.
-
Features: What features will you require? Do you plan to use manual settings, autofocus, or both? What number of megapixels does the camera have? Is there one?
-
Price: How much money are you willing to spend? Are you looking to replace your camera every few years?
-
Brand: Will you be happy with the brand you select? There is no reason you should settle for less.
-
Functionality: Can your camera function well in low light conditions Can you take high-resolution photos?
-
Image Quality: How clear are your images and how sharp are they?
-
Battery Life: How long can your camera last before it needs to be charged?
-
Accessories: Are you able to attach additional lenses or flashes? ?
What makes an excellent camera bag?
Because it protects your equipment while you are traveling, choosing a camera backpack is crucial. Here are some things to remember when buying a bag.
-
You should choose a large bag that can hold your accessories and camera comfortably. Don't go bigger than you think you will need.
-
Durability: Choose bags made from durable materials like leather, canvas or nylon. Avoid plastic and fabric bags.
-
Protection: Make your bag waterproof against dirt, moisture and scratches
-
Organization: Organize your gear by type so you can quickly access what you need. So, you can place your lenses in one box, your memory cards in another and your battery charger in a third.
-
Comfort: Avoid carrying around a bulky bag when you are shooting. Instead, carry a shoulder belt. A comfortable design should have padded straps.
-
Price: Shop around to find the best price. Some brands sell their products at discount prices, which can be an added bonus.
-
Warranty: Find out if your company offers a guarantee on its products. This will ensure that you are able to contact the right person if something happens to your bag.
What is the rule for thirds in photography?
The rule to thirds is a great way to create interesting compositions. It divides the image horizontally or vertically into nine equal pieces. This creates three main areas in which you want your subject. These are the top (upper left corner), middle (center) and bottom (lower right). These areas can be used to position your subject within your frame.
The rule to thirds allows you to avoid placing important elements too closely together or too far apart. They might not have enough space to make an impact on the eye if they are placed close together. You might find that they lose focus if you place them too close together.
Do I Need A Tripod?
This is one question that everyone wants to know. Although a tripod might not always be needed, they can be useful.
It allows you to hold your camera steady when taking pictures at slow shutter speeds. A tripod is a great option for landscapes and other stationary subjects.
However, a tripod can blurriness if you are photographing moving subjects, such as people or athletes. How do you decide which situations are best served by a tripod.
A tripod is useful when you need to photograph stationary or fast moving subjects. Examples include:
-
Sports
-
People
-
Landscapes
-
Close-ups
-
Macro shots
Try this test to find out if you really need a tripod. Hold your camera still and look through the viewfinder. A tripod is necessary if you notice blurred lines or movement.
A tripod will not improve blurring if you don't notice it.
However, if you do decide to invest in a tripod, here are some tips to keep in mind.
-
Smooth legs are important for tripods. This helps prevent vibrations that could shake your camera.
-
Choose a sturdy tripod. Some tripods are made out of plastic and may not be very durable. Consider a tripod made of metal.
-
You may want to consider buying a remote-control device. This lets you control your camera remotely. The button can be pressed to activate the shutter.
-
You should look for a tripod with 360 degree rotation. This makes it much easier to position your cameras horizontally or vertically.
-
Keep in mind that tripods aren't cheap. Expect to spend between $100 and $200. However, you'll get lots of value for your dollar.
-
Accessories such as filters and memory cards should be considered.
-
Before shopping online, be sure to visit your local shop. Many retailers offer free shipping.
-
Review a product to find out what other customers think.
-
Ask friends and family members who own similar products.
-
You can learn from customers' experiences by visiting message boards and forums.
-
Look online for user reviews.
-
Amazon.com makes it easy to compare prices and see customer feedback.
-
See photo galleries to see some of the creative uses for tripods by photographers.
How do I learn to take photos on my own?
There are many different ways to learn how take great photos. You could buy a book, attend a class, join an online community, watch YouTube tutorials, etc. It's better to learn the art yourself, if your goal is to take great pictures. So you can decide what goes into each picture. And as long as you keep learning, you'll always improve.
In fact, one of the best things about digital photography is that you don't even need expensive equipment. All you need is an internet connected computer and a camera. All the rest is up to your imagination.
Here are some tips to get your feet wet:
-
Familiarize yourself with the manual settings for your camera.
-
Learn how the basic controls work.
-
Photograph lots.
-
You can edit them.
-
These are yours to share.
-
Keep practicing.
-
Experiment.
-
You can try different perspectives and angles.
-
Use light sources creatively.
-
Practice makes perfect.
-
Don't be afraid to fail.
-
Be patient.
-
Have fun
Statistics
- While I cannot prove that all of those spots were not sensor dust, the photo was taken during a heavy snowstorm…so I guess that 99.8% of the spots are snowflakes. (bhphotovideo.com)
- Get 40% off Adobe Creative Cloud(opens in new tab) (creativebloq.com)
- That's the easiest way to get blurry photos 100% of the time. (photographylife.com)
- By March 2014, about 3 million were purchased monthly, about 30 percent of the peak sales total. (en.wikipedia.org)
External Links
How To
How to take macro photos in photography
Macro photography can be defined as the ability of taking pictures at close range of small objects, such insects or flowers. Macro means large in Greek. You can capture close-up shots with a lens that has a focal length of more than 50mm.
A macro lens that is good should have a long working range and a fast aperture to get sharp images. You also want to avoid movement while taking photos because anything that moves during exposure could blur your image.
Here are some ways to get great macro photos
-
Use a tripod. You can use a tripod if you don't own one. This way, you'll have less chance of moving while trying to shoot.
-
Make sure you choose the right lighting. You can get a macro lens with built-in lights filters. However, if you don’t have one, you can purchase one. It prevents overexposure.
-
Be patient! Shooting macros takes practice. Even though you might only see one tiny bug or flower at a time, it is worthwhile to continue shooting until you capture it.
-
Shoot in RAW format. RAW files can store more information than standard JPEGs. RAW files are best for editing later because you can make adjustments like cropping and color correction after the fact.
-
Remember to include the background. Even though you've got a nice foreground object, sometimes the background adds interest to your shot. You should include it in any photo.
-
Keep learning.