You need to know how to adjust your camera settings for golden hour shots. There are many things you need to remember, such as shutter speed and lens. Also, spot metering needs to be checked because the sun's rays can flare lenses. Adjusting ISO and shutter speed should be done accordingly. A neutral density filter, which reflects water's golden light, can help you capture that golden light. This article will show you how to best capture the golden light at this time of the day.
Lenses
The golden hours, which are the time between sunrise and sunset, are the best times to shoot landscape photos. These times are soft and diffused light, which gives your photos a golden glow. In addition, the color spectrum is much more limited during the golden hour, making it easier to capture the most beautiful scenes and subjects. Here are some tips on shooting in the golden hours. High-quality lenses are essential.
A wide aperture camera will produce less ghosting and flares than a zoom lens. A wider aperture will reduce overexposure. To protect your camera's sensor, you can use a lens cover. As a reflector, you can use a white paper card. It can be used to reflect light and create the perfect shot. A tripod is a must.
Shutter speed
The different shutter speeds available on your camera may be unfamiliar to you. The shutter speed for golden hour photography should be set to F5.6. This setting permits you to capture all the dynamic range of the subject. The exposure will be adjusted based on the type and intensity of the light. Also, you should use a low ISO for golden hour photography. These are some useful tips for golden hour photography.
To make the best use of the golden hour, you need to know your subject. You want to select a place where you can see your subject clearly. It may end up in shadows. This could result in an underexposed image. Sunbursts can balance out the stark contrasts in the scene, and give the subject an attractive glow around the edges.
Aperture
To capture beautiful golden hour photographs, you must use the right camera settings. Despite the fact that this period is usually associated with nature, you can use it for a more mundane subject. Photograph lonely trees, dry vegetation, or empty roads. Golden hour also adds soft light effects to landscapes. Here are some tips for getting the best shots during golden hour. Aperture is the key to capturing these beautiful moments.
Aperture priority: This setting automatically sets the shutter speed. The shutter speed should not be less than 1/60thof a second. Photos will become blurry if the shutter speed is lower than 1/60th of a second. If it is dark outside, you can increase the ISO to compensate. You can find our golden hour photography tips if you are unsure about which settings to use.
Filter for neutral density
A neutral density filter (NDF), which reduces light entering the lens, can increase shutter speed. This can range anywhere from a second to several minutes. NDF filters come with a variety brands, types, and setups. There are two types of NDF filters: square and screw-in. These two types of filters can be used to take golden hour photos in ideal lighting conditions. Before you decide to buy one, think about the kind of shot you would like to take.
For bright mornings and midday sunlight, a higher ND100k will be more effective. For images taken in harsh light, a higher ND100k will allow you to have more control. A larger aperture can be used if the lighting is too bright. For the perfect golden hour photograph, consider purchasing a higher ND filter, such as a 15-stop filter. This filter allows you to shoot photos with the sun directly within the frame.
FAQ
Is photography a talent or a skill?
Photography is not a talent but an art form that requires practice, training, and experience. The art of photography requires years of practice and dedication to mastery.
Photographing is a business that requires a plan.
To do this, you need to understand what kind of clients you want to attract and find ways to reach them.
You must get to know them and their goals. To convince them to purchase your services, you need to be able to communicate clearly.
This means you must be prepared to meet potential clients.
You will need to have a portfolio of work before you can approach potential customers. This can be done electronically using software programs or printed on paper.
Once you have created a portfolio, you must look for opportunities to show it off. This could be by approaching businesses directly, or even advertising online.
How do I get started with digital photography?
When you start out in digital photography, the first thing to consider is which type of camera you will use. There are many choices, including DSLRs (digital one-lens reflex cameras), point and shoot compact cameras, camcorders, smartphones, and camcorders. Each model has its own unique features and advantages. For example, DSLR cameras offer high-quality images but are typically larger and heavier than other types of cameras. Point-and shoot cameras are smaller, lighter and have more automatic settings. Camcorders are capable of recording excellent video quality and can also be used to take still photos. Smartphones are small, light, and easy to carry around and offer great image quality and many advanced features such as GPS mapping, music playback, and Internet browsing.
Once you've decided on the type of camera you'd like to buy, you will need to decide whether you would rather buy a used or new one. Cameras that have been used in recent years can often be found for a reasonable price. Newer models cost more, as manufacturers spend a lot of money on developing new technology.
Next, purchase lenses. Lenses play a key role in determining the quality of your photographs. They let you adjust the focal length to zoom in and out of the scene, without losing focus. Some lenses have built-in flash units, while others require external flash units. A wide range of lenses is available from various brands, each offering unique characteristics.
Finally, you'll need to buy memory cards. Memory cards store photos taken by your camera. Depending on the size of your card, it could hold hundreds or even thousands of pictures. You will need multiple memory card if you plan on taking many photos.
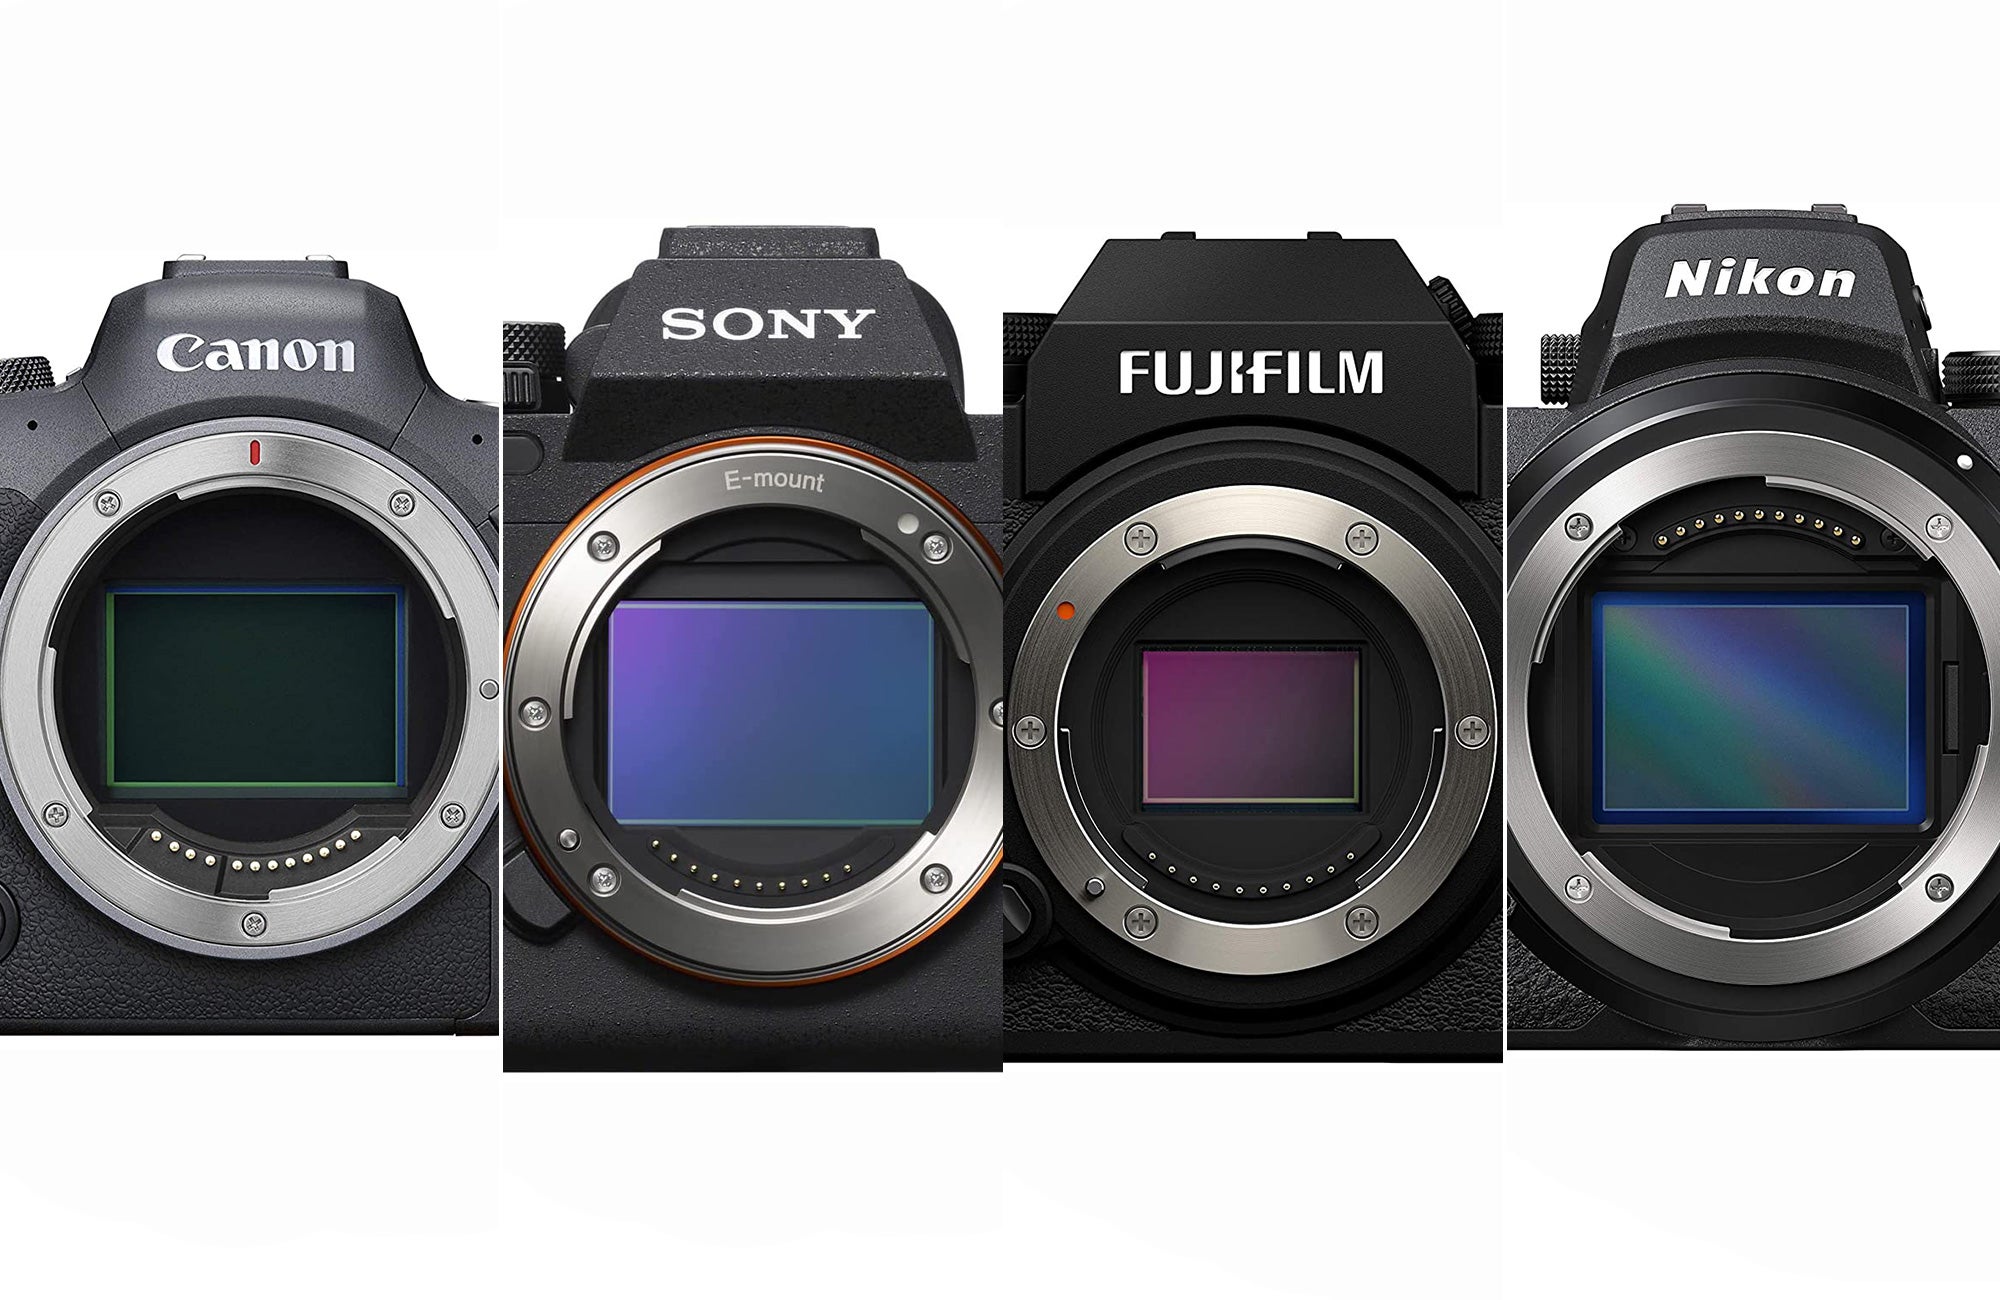
Which Lenses should I Use?
The most popular question that beginners ask is "What lens do I need?" There are many options. It can be difficult to make a decision.
The good news is that you don't necessarily need to buy a new lens every time you purchase a new camera. You can simply add lenses later.
These are just three options for lenses that you might consider.
-
Wide Angle Lens (14mm - 24mm): These lenses give you a wide angle of view, allowing you to capture more of your subject. You can also zoom in without losing image quality.
-
Normal/Standard Zoom Lens (28mm - 70mm): These lenses allow you to change focal lengths while maintaining image quality.
-
Telephoto Zoom Lens (70mm–200mm) : These lenses are ideal for photographing distant subjects. These lenses allow you stay focused on your subject even when they appear small.
Combining lenses can create different effects. One example is to use a regular lens to photograph close-up details and then switch to a long-range lens to capture faraway objects.
Where can I buy cameras?
Cameras can be purchased online from many different places. B&H Photo Video, however, is recommended as a trustworthy retailer. Their knowledgeable staff can answer any questions that you might have.
B&H ships securely and quickly, so you can get your order delivered right at your door.
You can learn more by watching this video about shopping for cameras.
Do I Need A Tripod?
This is one those questions that everyone has to ask. A tripod isn’t always needed, but it can be very useful.
It helps you keep your camera steady while taking pictures at slow shutter speeds. Tripods can be a huge help when you are shooting landscapes or stationary subjects.
A tripod can also cause blurriness when you are photographing people or sports. What are the best ways to determine which situations you need a tripod for?
A tripod can be useful in any situation where you need to capture fast action or stationary subjects. Examples include:
-
Sports
-
People
-
Landscapes
-
Close-ups
-
Macro shots
This test will help you determine if you need a tripod. Hold your camera still and look through the viewfinder. If blurred lines appear or you feel movement, you will definitely need a tripod.
A tripod won't make any difference if there is no blurring.
If you do decide on a tripod purchase, these are some things to remember.
-
Smooth legs are a must for your tripod. This helps to prevent vibrations from shaking the camera.
-
You should choose a sturdy tripod. Some tripods made of plastic may not last very long. Opt for a sturdy metal tripod.
-
A remote release is a great option. This remote control lets you remotely control your camera. Once you press the button, it will automatically fire the shutter.
-
Make sure to look for a tripod that rotates 360 degrees. This makes it easier to position your camera vertically or horizontally.
-
Keep in mind that tripods aren't cheap. Expect to spend between $100 and $200. However, you'll get lots of value for your dollar.
-
Accessories such as filters and memory cards should be considered.
-
Before you buy online, make sure to check your local shops. Many retailers offer free shipping.
-
To find out what customers think about a product, read reviews.
-
Ask family members or friends to share similar products.
-
Visit forums and message boards to learn about customer experiences.
-
You can search online for reviews from other users.
-
Use websites like Amazon.com to compare prices and read customer feedback.
-
See photo galleries to see some of the creative uses for tripods by photographers.
Photography is a great job.
Photography is an artistic form that allows one to capture and share moments in time. If you are willing to work hard, photography can be a great way for you to make money. There are many opportunities to make a career as a professional photographer. As a hobby, you could take pictures of your family and friends. This would improve your confidence and skills. After you've mastered this stage you can move onto paid assignments. Photographers who are the best earn a living doing what they love. They might accompany clients to parties or weddings, where they have to capture images that show people having fun. The majority of professionals prefer to shoot commercial projects, such product shots or ads.
You can only be successful if you know what type of photography is your favorite. Then practice, experiment, and try new techniques until you get comfortable with the process. Experience is the best substitute, so don’t expect success overnight.
As a beginner, you should aim to develop your technical skills first before focusing on creativity. Photography encompasses both technical and artistic aspects. The best way to achieve success in photography is to master the fundamentals of composition and use the right tools.
You need to decide if you want a career in photography. Some people choose to combine their passion for photography with other jobs. For example, you might work at a local newspaper or magazine while pursuing freelance assignments. Others choose to dedicate their entire time to photography. Whatever the case, success in any creative area requires dedication and commitment.
You will need to put in a lot of effort and time if you are serious about a career as a photographer. You should think about whether this is something you want to dedicate your life to.
Statistics
- There are people out there who will pick at flaws they can only see in 100% crops of your photos. (wikihow.com)
- In this case, 100% of readers who voted found the article helpful, earning it our reader-approved status. (wikihow.com)
- By March 2014, about 3 million were purchased monthly, about 30 percent of the peak sales total. (en.wikipedia.org)
- That's the easiest way to get blurry photos 100% of the time. (photographylife.com)
External Links
How To
Lightroom and Photography: How to Use it
Adobe Lightroom is an excellent tool for photographers who need to quickly edit their photos. It lets you import images from multiple sources into one place, where they can all be viewed, edited and cropped. They can be shared online, printed, or emailed.
Lightroom has many editing tools, including cropping, adjusting contrast, brightness, and color balance. Lightroom also offers presets to make common effects like vignette, lens distortion, and black and white conversion. The best part is that these changes are applied automatically when you export your image.
Adobe Bridge is a way to access Lightroom. It lets you organize files and view thumbnails all while browsing your collection. You can even add keywords to your images to find them later.
If you're new to Lightroom, start with the free version. This includes all of the basic features. There are two options for upgrading: you can buy the full edition or subscribe.
There are several ways to download Lightroom. Adobe offers the option of purchasing the software directly. Another way is to download the trial version and convert it to a paid license. Here's how it works.
-
Lightroom Trial Version
-
Launch the program. Click "Convert to License" in the bottom right corner.
-
Choose the type of license you want (one year or perpetual) and enter your payment details.
-
To complete the process, click "Continue".
-
Once the trial version has been converted to a paid licence, you can continue using the license until the end.